With just a tiny bit of your time and very few supplies you can create a sourdough starter that can be passed down for generations! How cool is that?
Sourdough cultures contain communities of living organisms, with a history unique to each individual starter, and bakers can feel an obligation to maintain them. The different yeasts present in the air in any region also enter sourdough, causing starters to change depending on location. So your sourdough is uniquely yours!
All it takes is unbleached or all purpose flour and filtered water to create your starter. If you don’t have a filtering system for your water, just boil the water for 15 minutes on a slow boil to remove the chlorine, allowing the water to completely cool before using, alternately you can draw up a container of tap water and let it sit out for 24 hours so the chlorine will evaporate. You may also use whole wheat or rye flour. Make sure to feed at the same time each day. I recommend using a digital food scale to weigh your ingredients in grams instead of ounces because it is more accurate to me.
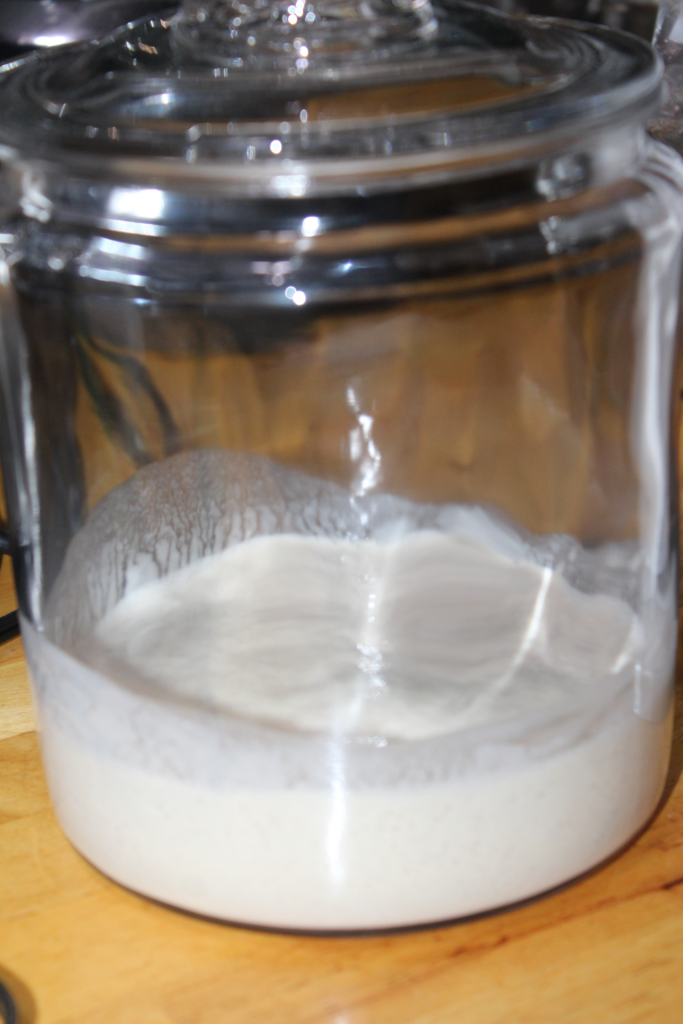
Day 1: Start out with 50 grams of water and 50 grams of flour. Mix well. Place in a jar with lid and allow to sit in a warm place for 24 hours. You will notice at this point that your starter consists of 1/2 water and 1/2 flour.
Day 2: 24 hours later, remove1/2 or 50 grams of your starter. This is your sourdough discard.
You should store the discard you keep in the refrigerator if you are not going to make something with it. Many people say to throw out the discard for the first 7-14 days, but I began to bake with mine and soon as I started seeing a lot of bubbles forming in it, which was around day 7 I think. Take the remaining 50 grams of starter, add 50 grams of flour and 50 grams of water. Mix well and put in jar with lid and sit on counter in a warm place for 24 hours. You have now fed your starter. As far as warm places go, I have placed my jar of starter in the oven with the oven light on for warmth. Make sure no one turns on your oven if you do this because some people have had quite a disaster when that happens!
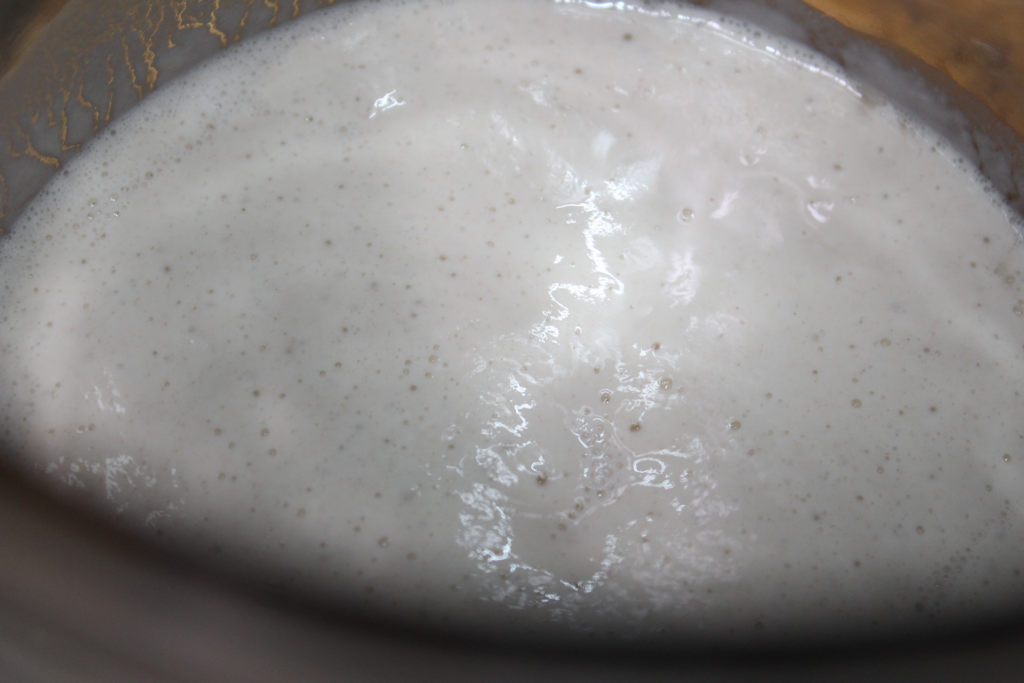
Day 3: Stir starter and take out 50 grams to feed, the remainder will be added to your discard jar and you may use to bake or place in the refrigerator. To the 50 grams of starter you removed add 50 grams flour and 50 grams water. Mix well, place in jar with lid and sit in a warm place for 24 hours. You may begin to see some bubbles forming(a few) in the starter, and that is great! It means your starter is growing and beginning to come alive!
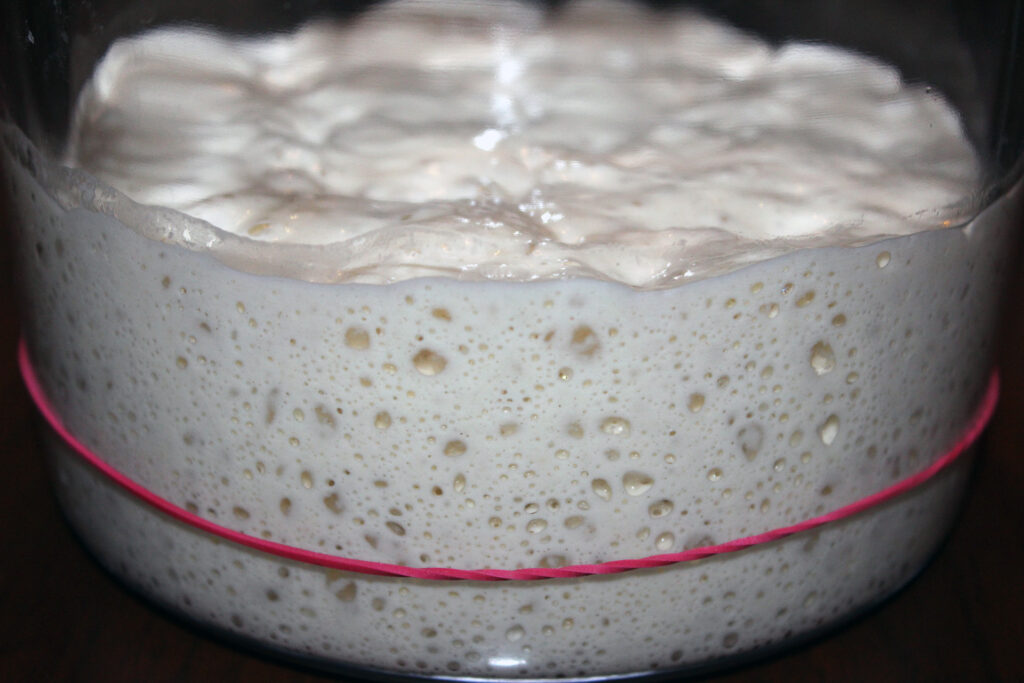
Day 4-7 you will continue to take out 50 grams of starter to feed, return remainder to discard jar to refrigerate or begin to bake discard recipes. Feed the 50 grams of starter as you did on day 3, place in jar with lid in a warm place. By day 7, you should surely be seeing some bubbles and activity in your starter. You will notice bubbles forming on the top and sides.
How exciting!! It’s alive!!! You have every right to be smiling at this point. You have persevered instead of giving up, like some people, and throwing it out. Soon you will have that active starter you want!
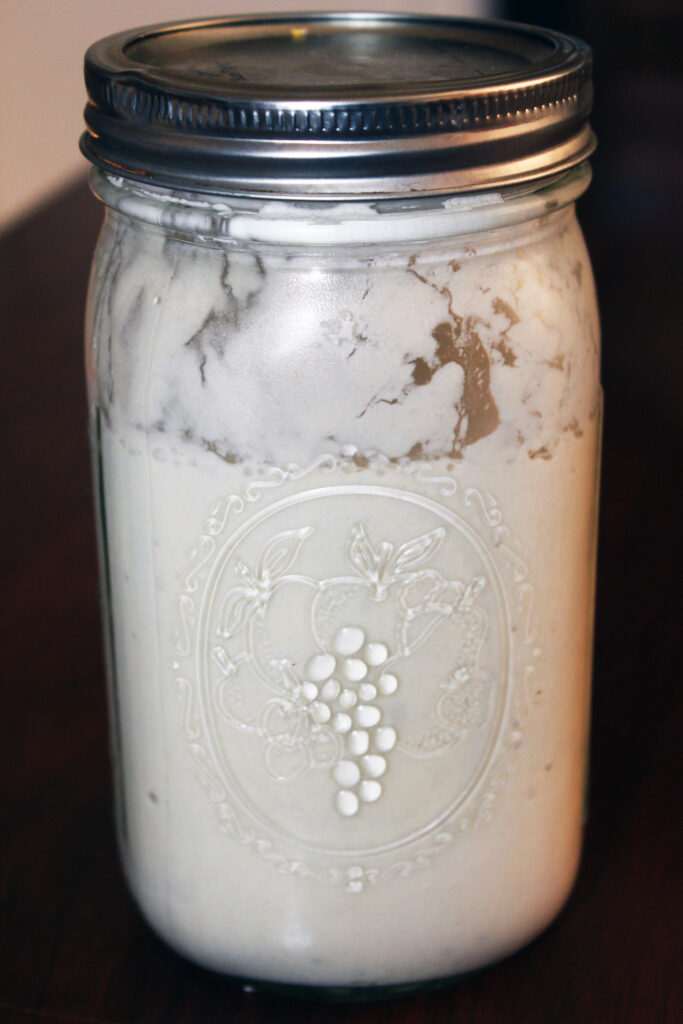
Beginning on Day 8-14: Take 50 grams of starter from your jar. Today you will increase your feeding a bit. You will add to your 50 grams starter, 75 grams water, 100 grams flour. Mix well and sit in warm place to grow. Continue to feed in this manner every 24 hours until you have a starter that is covered with bubbles on the sides and top. By the 14th day your starter should be bubbly and ready to produce delicious baked products. Enjoy!